

Why you should know about Flux
and a quick comparison between the various Flux Dev variants

So I’ve been messing around with text-to-image AI models.
Today, I want to briefly introduce the field and explain how you could get started.
The premise is simple. Give me some words, and I’ll give you an image.
The catch?
The image might not be what you had in mind (or sometimes even what you gave me).
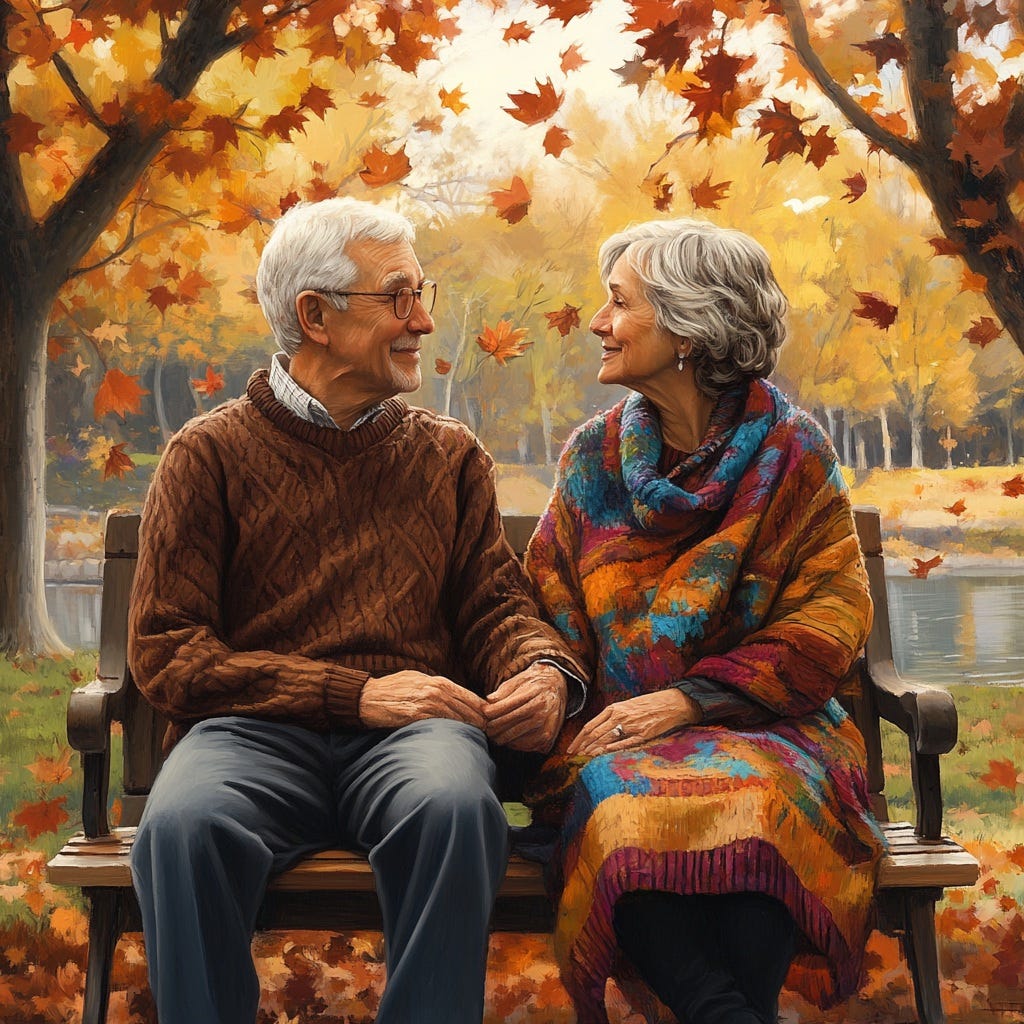
Here’s an example of “A cute cat”:

Nice, but I was expecting something more realistic.
That’s it at a high level.
In this article, I will cover, existing text-to-image models, Flux and its variants, which Flux model I think is best, and some cool things you can do with text-to-image aside from generating images from text.
Text-to-image models
There has been a lot of innovation in the space.
First, we have Dall-E from Open AI. This was the model that put text to images on the map.
Then came Midjourney from a completely bootstrapped company. They are still class-leading in generating highly realistic and stylistic images.
Shortly after came stable diffusion which was completely open source. Until then, all the models were closed and gated behind a pay-per-use. They enabled a whole class of hobbyists to apply it to various use cases.
Most recently, Flux launched. They were created by the original team from Stable Diffusion who left to start their own company. Flux comes in variants, some of which are open-sourced, which have caused new excitement in the community.
The reason?
For the first time, an open-sourced model rivals mid-journey which has been at the forefront of text-to-image generations.

Flux and its variants
Flux has three variants - Pro, Dev, and Schnell (fast in German).
They are ordered in supposed performance, with Pro being the best.
Since only the Dev and Schnell were open-sourced, those were the ones I played with most.
For the rest of the article, I will be focusing on the dev model in particular because I found the results from the results better.

Flux Dev
So we choose flux dev and let’s go ahead and start doing cool stuff right?
Not so fast.
While Black Forest Labs (the company behind Flux) has released the original Dev model, the community has released variants to make it more accessible for folks like you and me.
Here’s a short list of variants:
The original Flux Dev
Flux Dev fp8 (referred to as Dev FP8)
Flux Dev bnb nf4 (Dev NF4)
Flux GGUF and its list of various quantizations. (Dev GGUF8, the 8 variant is the biggest of the GGUF models)
While I don’t know all the technical differences between all the models, at a high level, all variants give up some information to be smaller and run faster while attempting to produce results as close to the original as possible.
Being the over-optimizer, I had to play around with everything to find the best model.
In my case, I am looking to replicate the original dev model while being as fast as possible.
To test, I’ve changed only what I had to run the model via comfy UI.
As much as possible, all settings were kept the same, varying only the prompt each time.

One quick aside is that you’ll notice that Flux models have the iconic “Flux chin”. You’ll see this in other human pictures moving forward.
In terms of results, the NF4 variant is IMO, the worst. All the others were fine.
images were a lot more similar across the board. I like the shirt from Dev NF4 and Dev FP8, but Dev GGUF8 was the closest to the original Dev model.

Dev NF4 struggling here with the plane on the right looking a little funky.
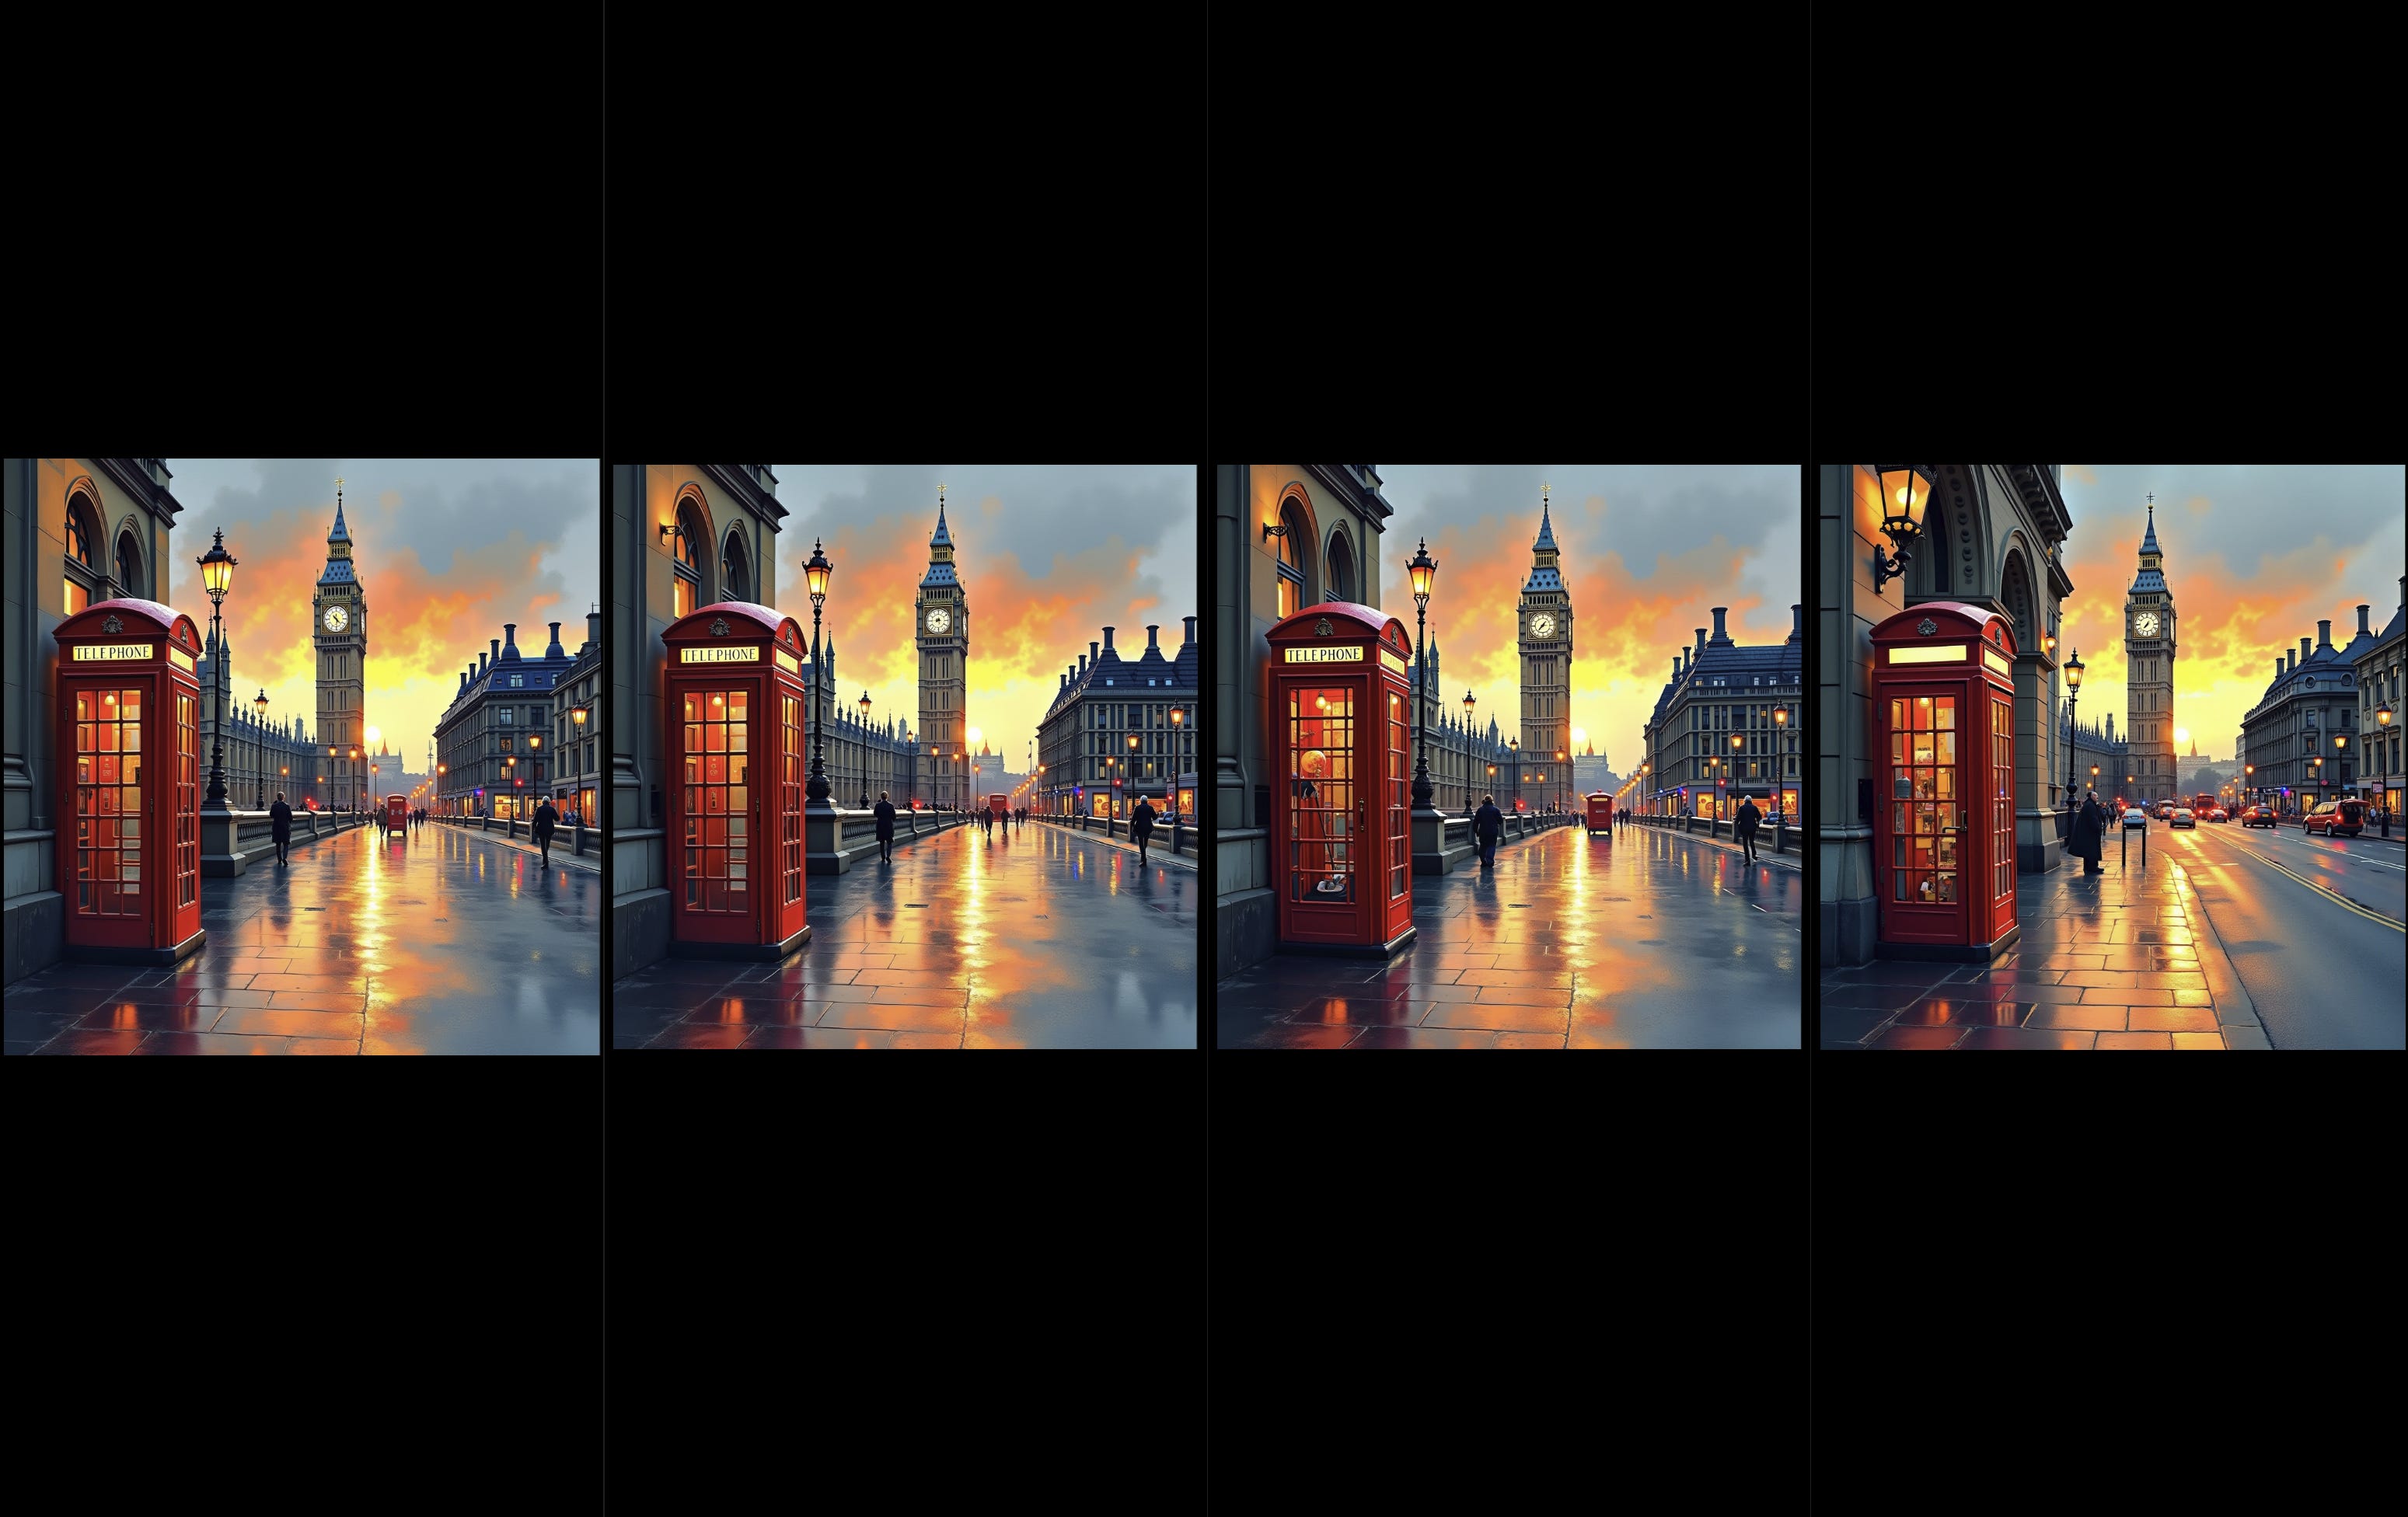
All four models doing all right here! Dev NF4 is the most dissimilar of the bunch

Again, the Dev GGUF8 is closest to Dev. Although, I don’t like any of the images from this seed.
And this goes on for a bunch more, but overall, I think DEV GGUF8 performs the closest to Dev.
In terms of generation time,
Dev → 2mins 20sec per image.
Dev GGUF8 → 1min 30 sec per image
Dev FP8 → 1min 20 sec per image
Dev NF4 → 1min ish per image
So ya, I’ll be using the dev GGUF8 going forward and maybe the NF4 if I need to prototype certain things.
Other things to do
Wrapping up here, if you’re interested in playing around locally:
Grab Comfy UI
Download your model of choice.
Dev NF4 (Download the model from the link and grab this plugin for comfy). Replace the model in the Dev and FP8 set-up from part (a).
Start generating!
Following this,
Try some Loras (Low-Rank Adaptation of Large Language Models) to add styles / new characters to your generated image.
Yarn Lora → makes images look like they are knitted
realism Lora → Makes images more realistic
Hyper SD → Allows you to use fewer steps when generating images (aka faster image generation)
Add detail Lora → As stated
Train your own Loras!
AI Toolkit. Available as API from replicate.
Simple Tuner. Here’s a good resource I use to get started
Control Net → Use an input image to guide the output image
IP-adapter (Image Prompt adapter) → There’s one from XLabs but I haven’t tried it so your mileage might vary.
Whew, lots covered today, but I hope you’re excited because we are just getting started!
[1]: The image was lifted from beebom
Interesting to see NF4 tries to fit in at a glance but is always the imposter
Just a little attention is needed and it becomes very apparent (those planes are wack lmao)